Soft Pretzel Month! Recipe

TRIVIA ANSWER: B. BALDIES

1. In a small bowl, dissolve yeast and 1 teaspoon sugar in 1 1/4 cup warm water. Let stand until creamy, about 10 minutes.

2. In a large bowl, mix together flour, 1/2 cup sugar, and salt. If the mixture is dry, add one or two more tablespoons of water. Knead the dough until smooth, about 7-8 minutes. Lightly oil a large bowl, place the dough in the bowl, and turn and coat with oil. Cover with plastic wrap and let rise in a warm place until doubled in size, about 1 hour.

3. Preheat oven to 450 degrees. Grease 2 baking sheets.

4. In a large bowl, dissolve baking soda in 4 cups hot water; set aside. When risen, turn dough out onto a lightly floured surface and divide into 12 equal pieces. Roll each piece into a rope and twist into a pretzel shape. Once all of the dough is shaped, dip each pretzel into the baking soda-hot water solution and place pretzels on baking sheet. Sprinkle with kosher salt.

5. Bake in preheated oven until browned, about 8 minutes.

Ingredients

4 teaspoons active dry yeast

1 teaspoon white sugar

1 1/4 cups warm water

5 cups all-purpose flour

1/2 cup white sugar

1 1/2 teaspoons salt

1 tablespoon vegetable oil

1/2 cup baking soda

4 cups hot water

1/4 cup kosher salt (for topping)
Happy Easter Weekend Recipe: Deviled Eggs

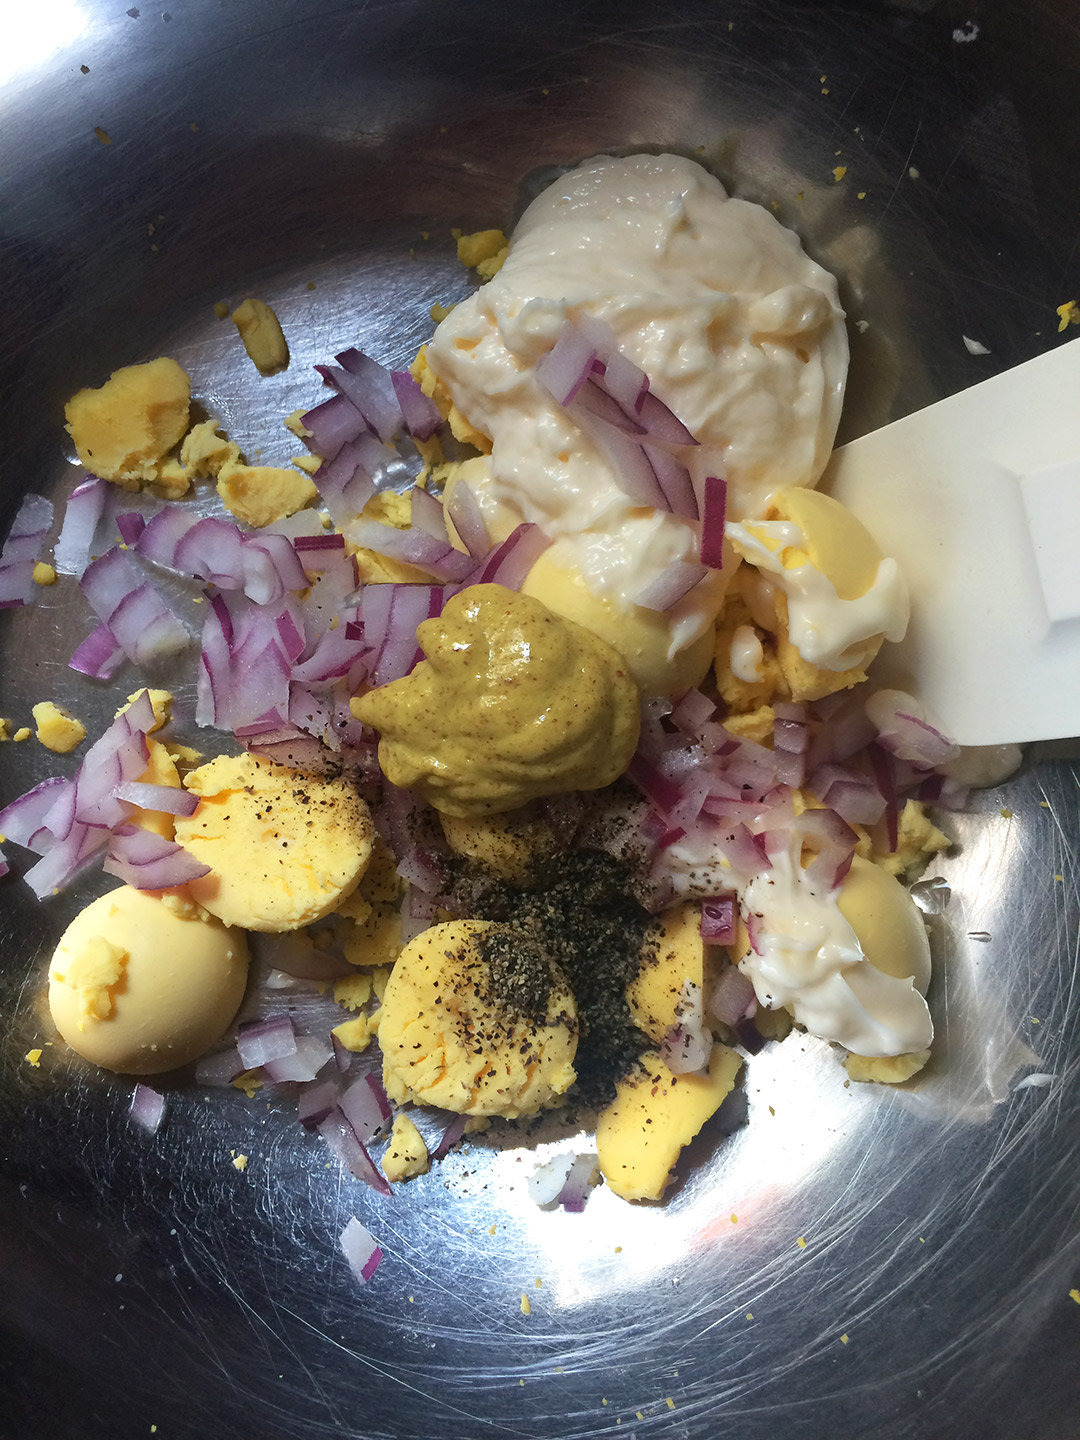
Happy Easter Weekend! It is very early this year, I almost forgot about it :) A favorite snack of mine which you can have year round but certainly pops up at the Easter table is deviled eggs. A classic recipe with variations you can choose to do. For me I may use a little white or red onion in the yolk mix. You can certainly jazz is up with sprigs of dill and even bacon bits to the recipe!

Here’s my recipe adopted from Food Network: http://www.foodnetwork.com/recipes/classic-deviled-eggs-recipe.html

IMG_2071.jpg

BTS: Food Photography Workshop at The Art Directors Club

What a great event and turnout for this past weekend's food photography workshop. It was great to share my experiences and tips I've learned over the years to help the students improve on their own photography. We had a packed afternoon of talking lighting setups, camera programs, and the importance of styling. I did a live demonstration on set shooting and building a sandwich. I also discussed the importance of hiring and working with a food stylist as well as a prop stylist.

Everyone broke out to separate tables building their own sets with props supplied and also making their own sandwich to photograph! You can see a time lapse below of the days events.

I would love to continue this workshop at other locations in New York City as well as New Jersey, and Philadelphia. If you are a food or prop stylist and want to collaborate on this please reach out! Also any studio spaces that would like to host us.

Food Photography Workshop Saturday March 12th 2016

I'm so excited to be working with The Art Directors Club on a food photography workshop at their NYC headquarters. It will be an exciting day of shooting food discussing how to craft your shot providing tips and tricks! Also touch on the benefits of working with food stylists and prop stylists. At the end will have a fun critique looking at what everyone shot.

You can find more info here and register for the weekend workshop, it will be fun :)

Don't forget, ADC month of March is Photography month.

National Pancake Day- March 8th

It’s National Pancake Day on March 8th! IHOP in the past has had it as today so I'm not sure...

http://www.ihoppancakeday.com/

This form of batter that was fried and considered a flat cake dates back 30,000 years ago. Amelia Simmons’s was the first known American to have a cookbook published which included pancake recipes back in 1796.

My personal favorite style of pancakes are buttermilk pancakes. Please see recipe referenced below from Bon Appetit. Recipe by Jessie Damuck

Ingredients
Servings: Serves 4 (Make About 8 Pancakes)

    1⅓ cups all-purpose flour
    3 tablespoons sugar
    1 teaspoon baking powder
    1 teaspoon baking soda
    1 teaspoon kosher salt
    2 large eggs
    1¼ cups buttermilk
    2 tablespoons unsalted butter, melted
    Vegetable oil (for griddle)
    Pure maple syrup (for serving)
    Whisk flour, sugar, baking powder, baking soda, and salt in a large bowl. Whisk eggs, buttermilk, and butter in a medium bowl; stir into dry ingredients until just combined (some lumps are okay).
    Heat a griddle or large skillet over medium; brush with oil. Working in batches, scoop ⅓-cupfuls of batter onto griddle. Cook pancakes until bottoms are golden brown and bubbles form on top, about 3 minutes. Flip and cook until cooked through and other side of pancakes are golden brown, about 2 minutes longer. Serve pancakes with maple syrup.


How I Shot It: Wine Still Life

For this shoot I wanted the wine to feel very sophisticated and moody. How I created this image was I had a main light streaking in from the far left side of set just to hit the background burlap. From there I was able to angle my off camera mirrors and reflective paper in front to spot light individual labels. For the right side of frame I wanted a clean strip of light so I had my large 3x4 softbox just hitting some of the bottles and panning the head toward the back of set for less light to hit it. Working with the mirrors and reflective papers for shoots is always fun and experimental. I have so many different cuts and a handful of colors to work with. It can really add a level of mystery to the light.

Recipe: Buffalo Wings

I don’t have a deep fryer at home and buffalo wings make me feel guilty enough so these baked buffalo wings were a good trade off. I was really craving the buffalo style wings with that real orange sauce so this recipe I didn’t need to add to much extra butter. You can buy this style sauce at any supermarket, it’s usually next to the Frank’s Red Hot Sauce which also offers an awesome wing recipe on the bottle.

0952.jpg

What you will need:

3/4 cup flour (this yields for about 20 wings, depending on the size and quantity of the wings you may need more or less flour)
1/2 teaspoon cayenne pepper

1/2 teaspoon garlic powder

1/2 teaspoon salt

1/2 or 1/4 cup melted butter (whatever your feeling!)

1/2 cup of the buffalo sauce


Line a baking sheet with aluminum foil, and lightly grease with cooking spray. Place the flour, cayenne pepper, garlic powder, and salt into a resealable plastic bag, and shake to mix. Add the chicken wings, seal, and toss until well coated with the flour mixture. Place the wings onto the prepared baking sheet, and place into the refrigerator. Refrigerate at least 1 hour.

Preheat oven to 400 degrees F

Whisk together the melted butter and hot sauce in a small bowl. Dip the wings into the butter mixture, and place back on the baking sheet. Bake in the preheated oven until the chicken is no longer pink in the center, and crispy on the outside, about 45 minutes. Turn the wings over halfway during cooking so they cook evenly.

*I also had a grate between the foiled pan and the wings just so they could get a little crispier.


Top 10 Chocolatiers In North America

Yesterday was a great event held at ICE in New York City (Institute of Culinary Education) Big sponsor was Cacao Barry and hosted with Dessert Professional Magazine. This event showcased the top 10 chocolatiers in North America. The chocolates were so unique coming from all other the country hand made by each chocolatier.

Just to highlight a couple from the night, Oliver Kita was revealing a new experimental chocolate he had put together that had seaweed on top of the chocolate. It was a take on the salty and sweet combinations that are very popular with chocolate. This version was a little healthier and the saltiness was a little more mellow. Anette Righi DeFendi had a great spread of chocolate reminiscing for Valentine’s Day! The chocolates were beautiful and jewel shaped. Her signature chocolate of the night was her chocolate turtle that consists of chocolate, caramel, and pecans. Simple but the flavor really jumped out. Santosh Tiptur’s chocolate table had an amazing presentation. The tiers of chocolate and the vessels he served them in were almost too good to touch. His popular chocolate of the night was his chocolate parfait that was layered with chocolate mousse, cake, caramel, and chocolate balls on top. The last to arrive but stole the show was the ever popular chocolatier from Savannah, Georgia Adam Turoni. His featured chocolate of the night was a creme brulee bite sized treat. He was blow torching the chocolate as it was served. It had the perfect crystallized crunchy exterior and the inside just melted with chocolate. Norman Love was the first inductee of the chocolatier hall of fame that night as well.

Norman Love and Johnny Iuzzini

Norman Love and Johnny Iuzzini

List of top 10:

Susanna Yoon- Stick With Me
Adam Turoni- Chocolat By Adam Turoni
Christophe Toury- Voila Chocolat
Santosh Tiptur- Co Co Sala
Daniel Sklaar- Fine & Raw
Slawomir Piot Korczak- Polska European Bakery & Chocolate
Oliver Kita- Oliver Kita Chocolates
Elaine Hsieh & Catherine Sweeney- EHChocolatier
Anette Righi DeFendi- Kohler Original Recipe Chocolates
Michael Antonorsi- Chuao Chocolatier

DessertProfessional_010.jpg

Friday Farm Follow Up

This mild winter has been great so far. I’ve been continuing my personal project photographing at the farms with weather I’m able to stand in for a few hours! However I would like it to snow at least once so I can get shots of the farms in a wintery setting.

Baby calf being fed milk and nutrients by Andrew the farmer at the dairy farm

Baby calf being fed milk and nutrients by Andrew the farmer at the dairy farm

Cocktail Recipe: Mint Julep

This was fun to photograph and also very challenging because it involved so much ice! I could see myself revisiting this shoot and re-doing it now knowing the difficulty of shooting so much ice at one time and it all looking good.

The history of the mint julep is interesting but the presentation to me is what really sparked my interest. The stainless steel cup and bright grouping of fresh mint drew my eye in.  After doing research and reading about the drink it was almost like a slushy for adults which I think any adult would be OK with.

Ingredients:

1 tablespoon Mint Simple Syrup
Crushed ice
1 1/2 to 2 tablespoons (1 ounce) bourbon
1 (4-inch) cocktail straw or coffee stirrer
1 fresh mint sprig
Powdered sugar (optional)


2015 In Review

2015 is coming to an end. I continue to grow and learn as a photographer and business owner. There are many things I can say about this past year and where I see myself in the future, however I always like to turn to inspirational quotes by successors I’ve learned from who just say it so much better. Let’s raise a glass and cheers to 2016!

“All our dreams can come true, if we have the courage to pursue them.” — Walt Disney

Grana Padano photo shoot for Cheese Connoisseur Magazine

Just in time for the holidays, a few quick cheese recipes I shot for Cheese Connoisseur magazine. These were prepared with Grana Padano cheese, which is similar to Parmigiano-Reggiano. It is made in northeastern Italy. The recipes were really a nice selection to showcase how you can use this cheese. We made a simple quesadilla with roasted red peppers, a squash soup, and an apple crostata!

We had to make sure and leave room for titles and recipe text when these run in the magazine.

Photo Shoot B.T.S. Texas Jack's BBQ

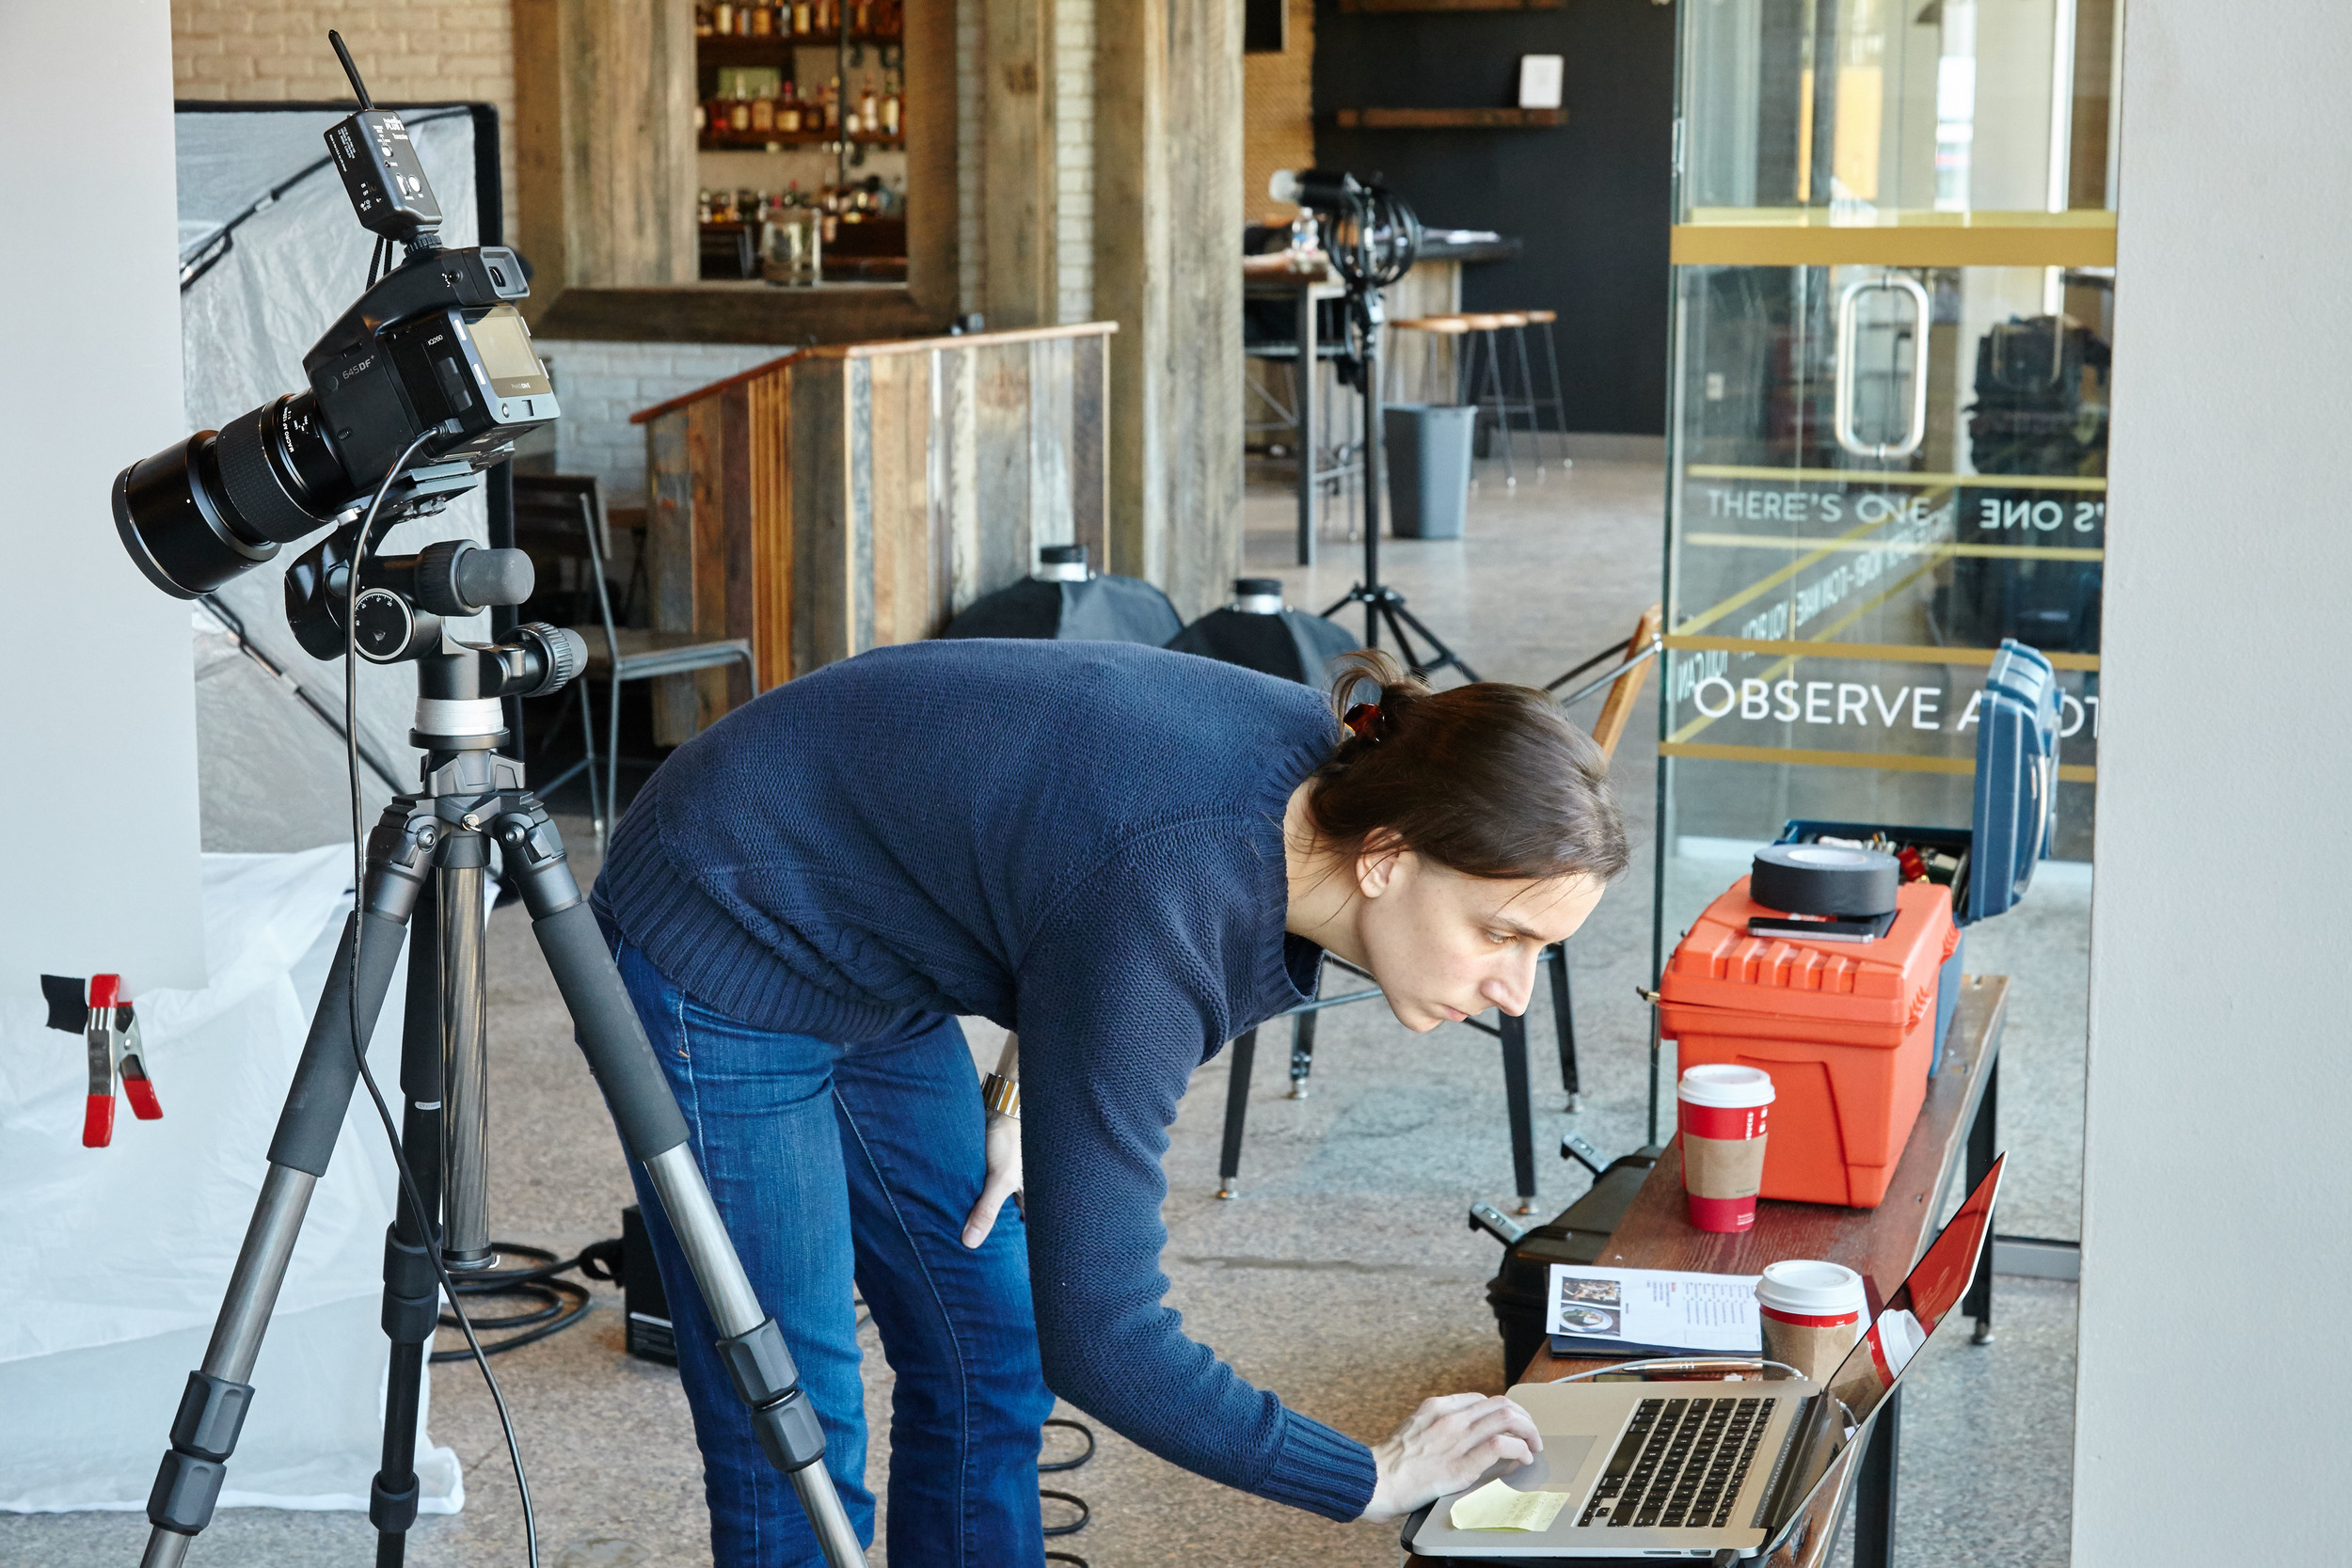
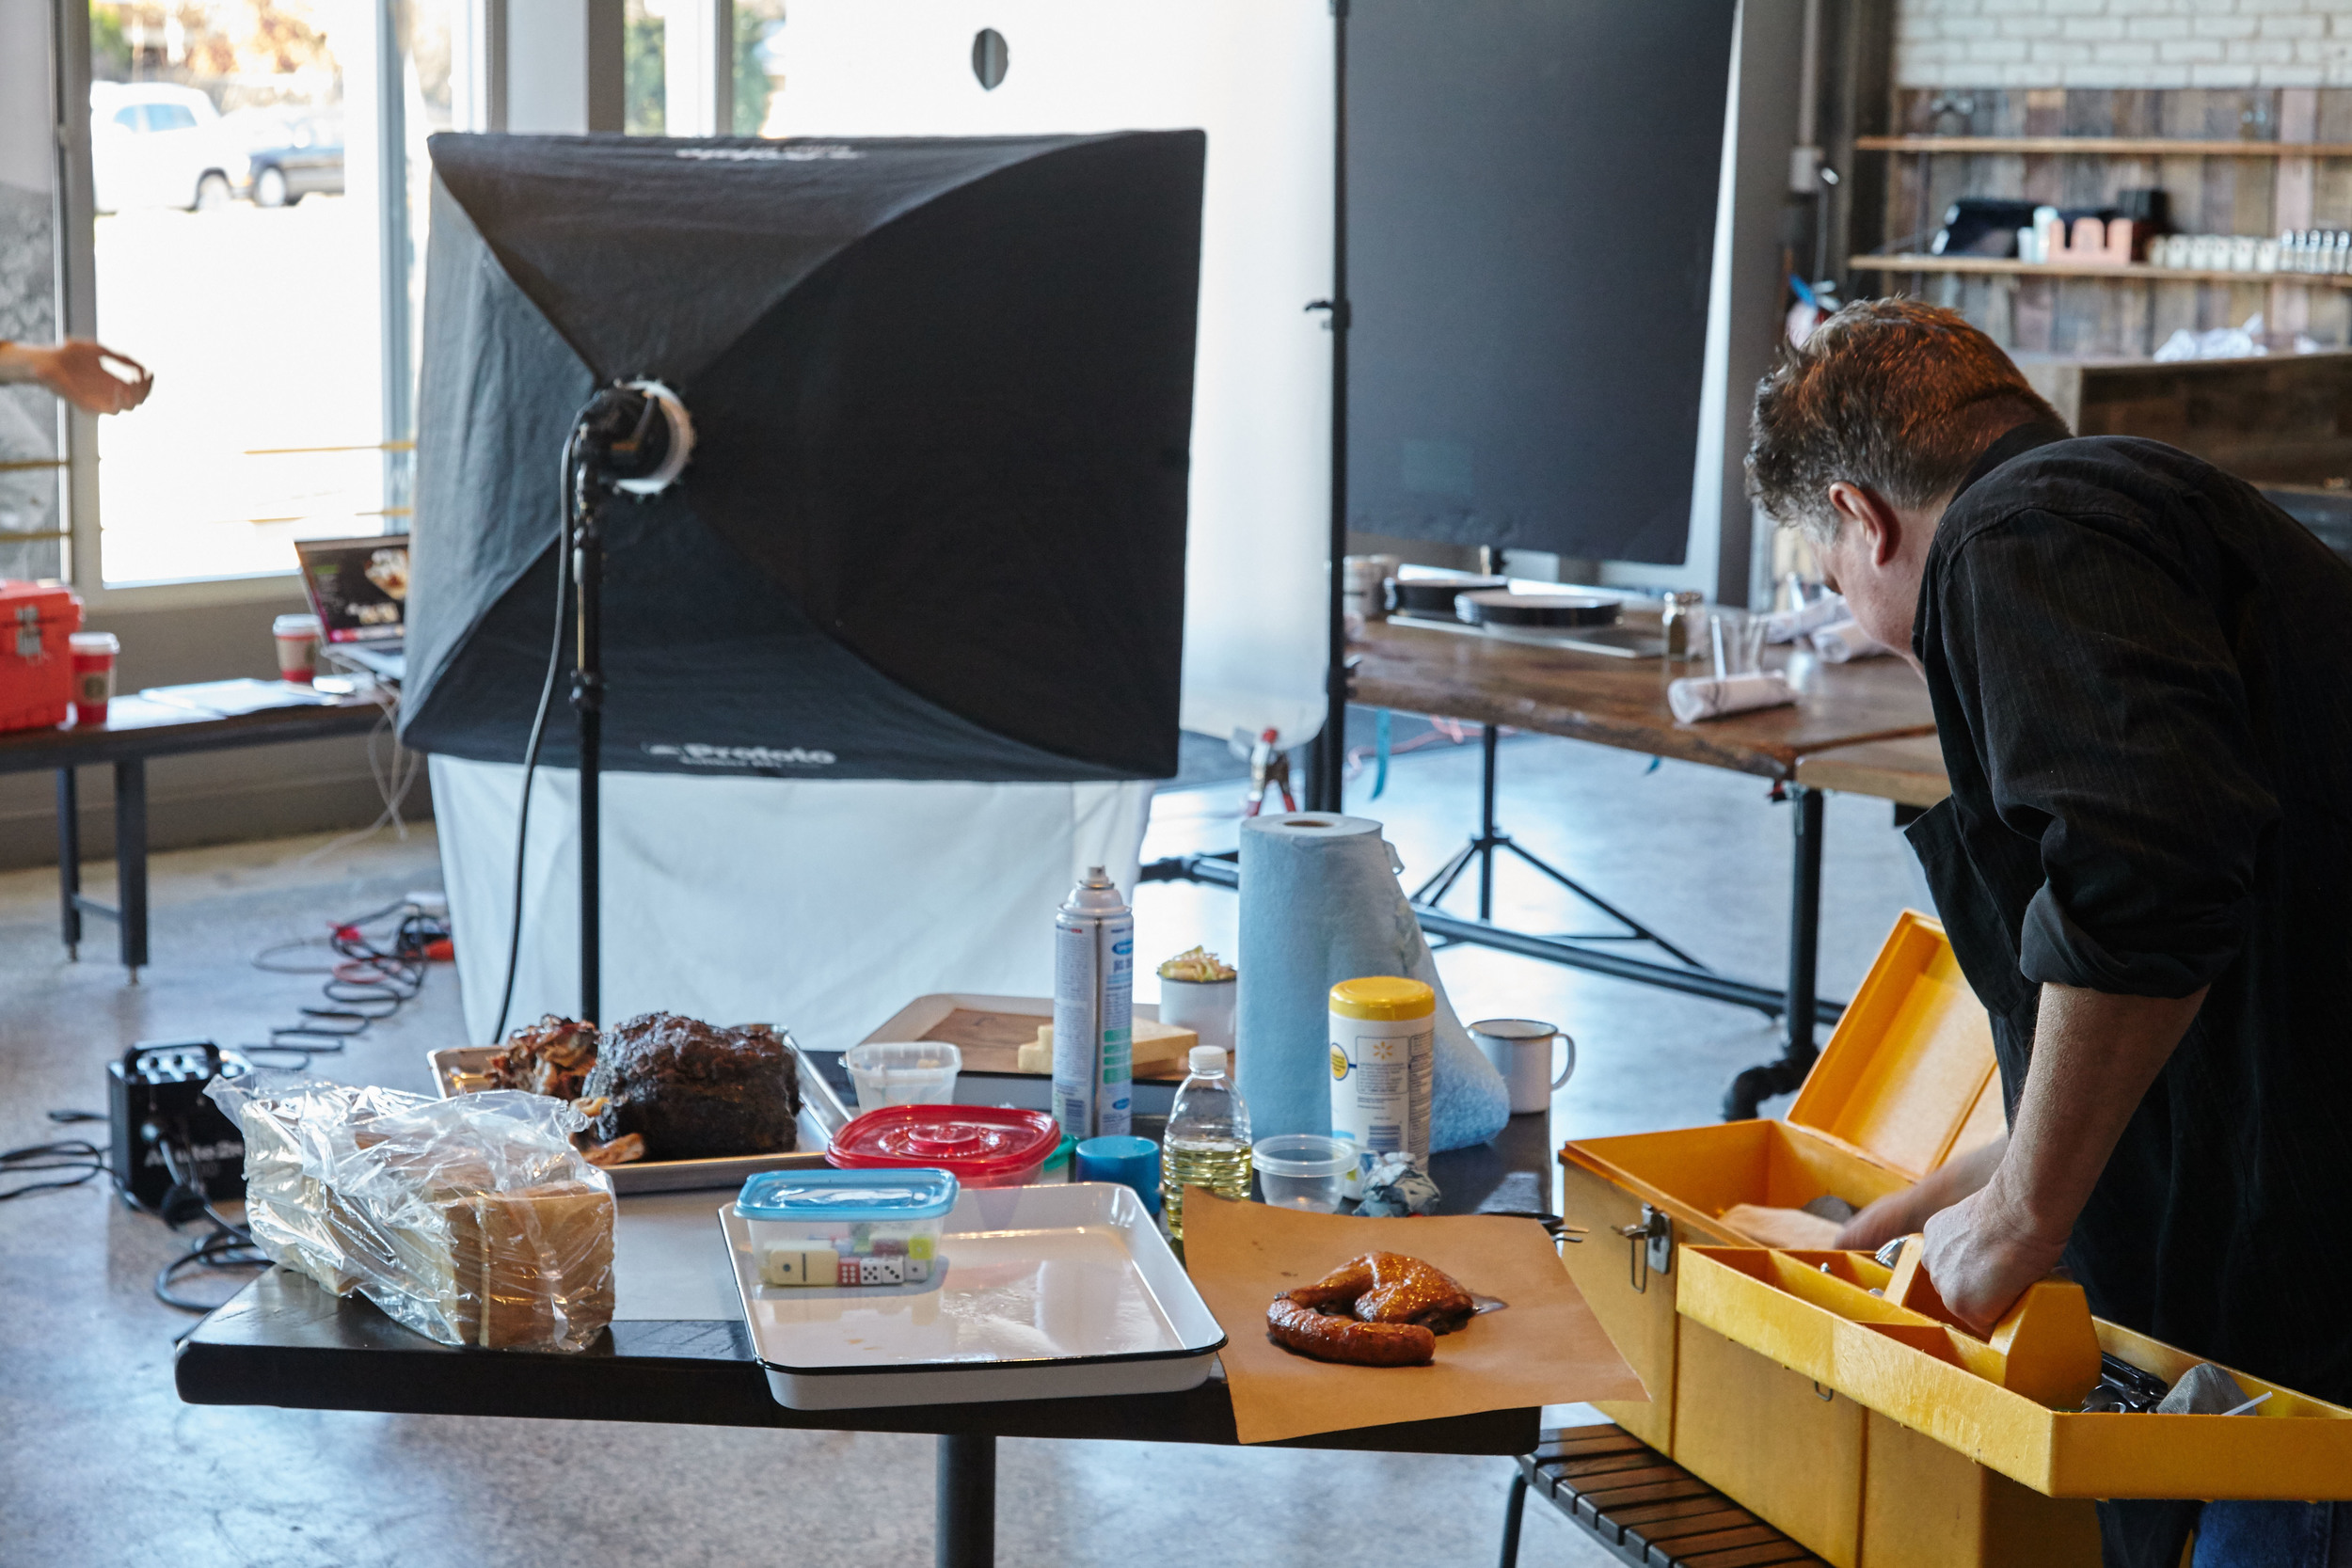
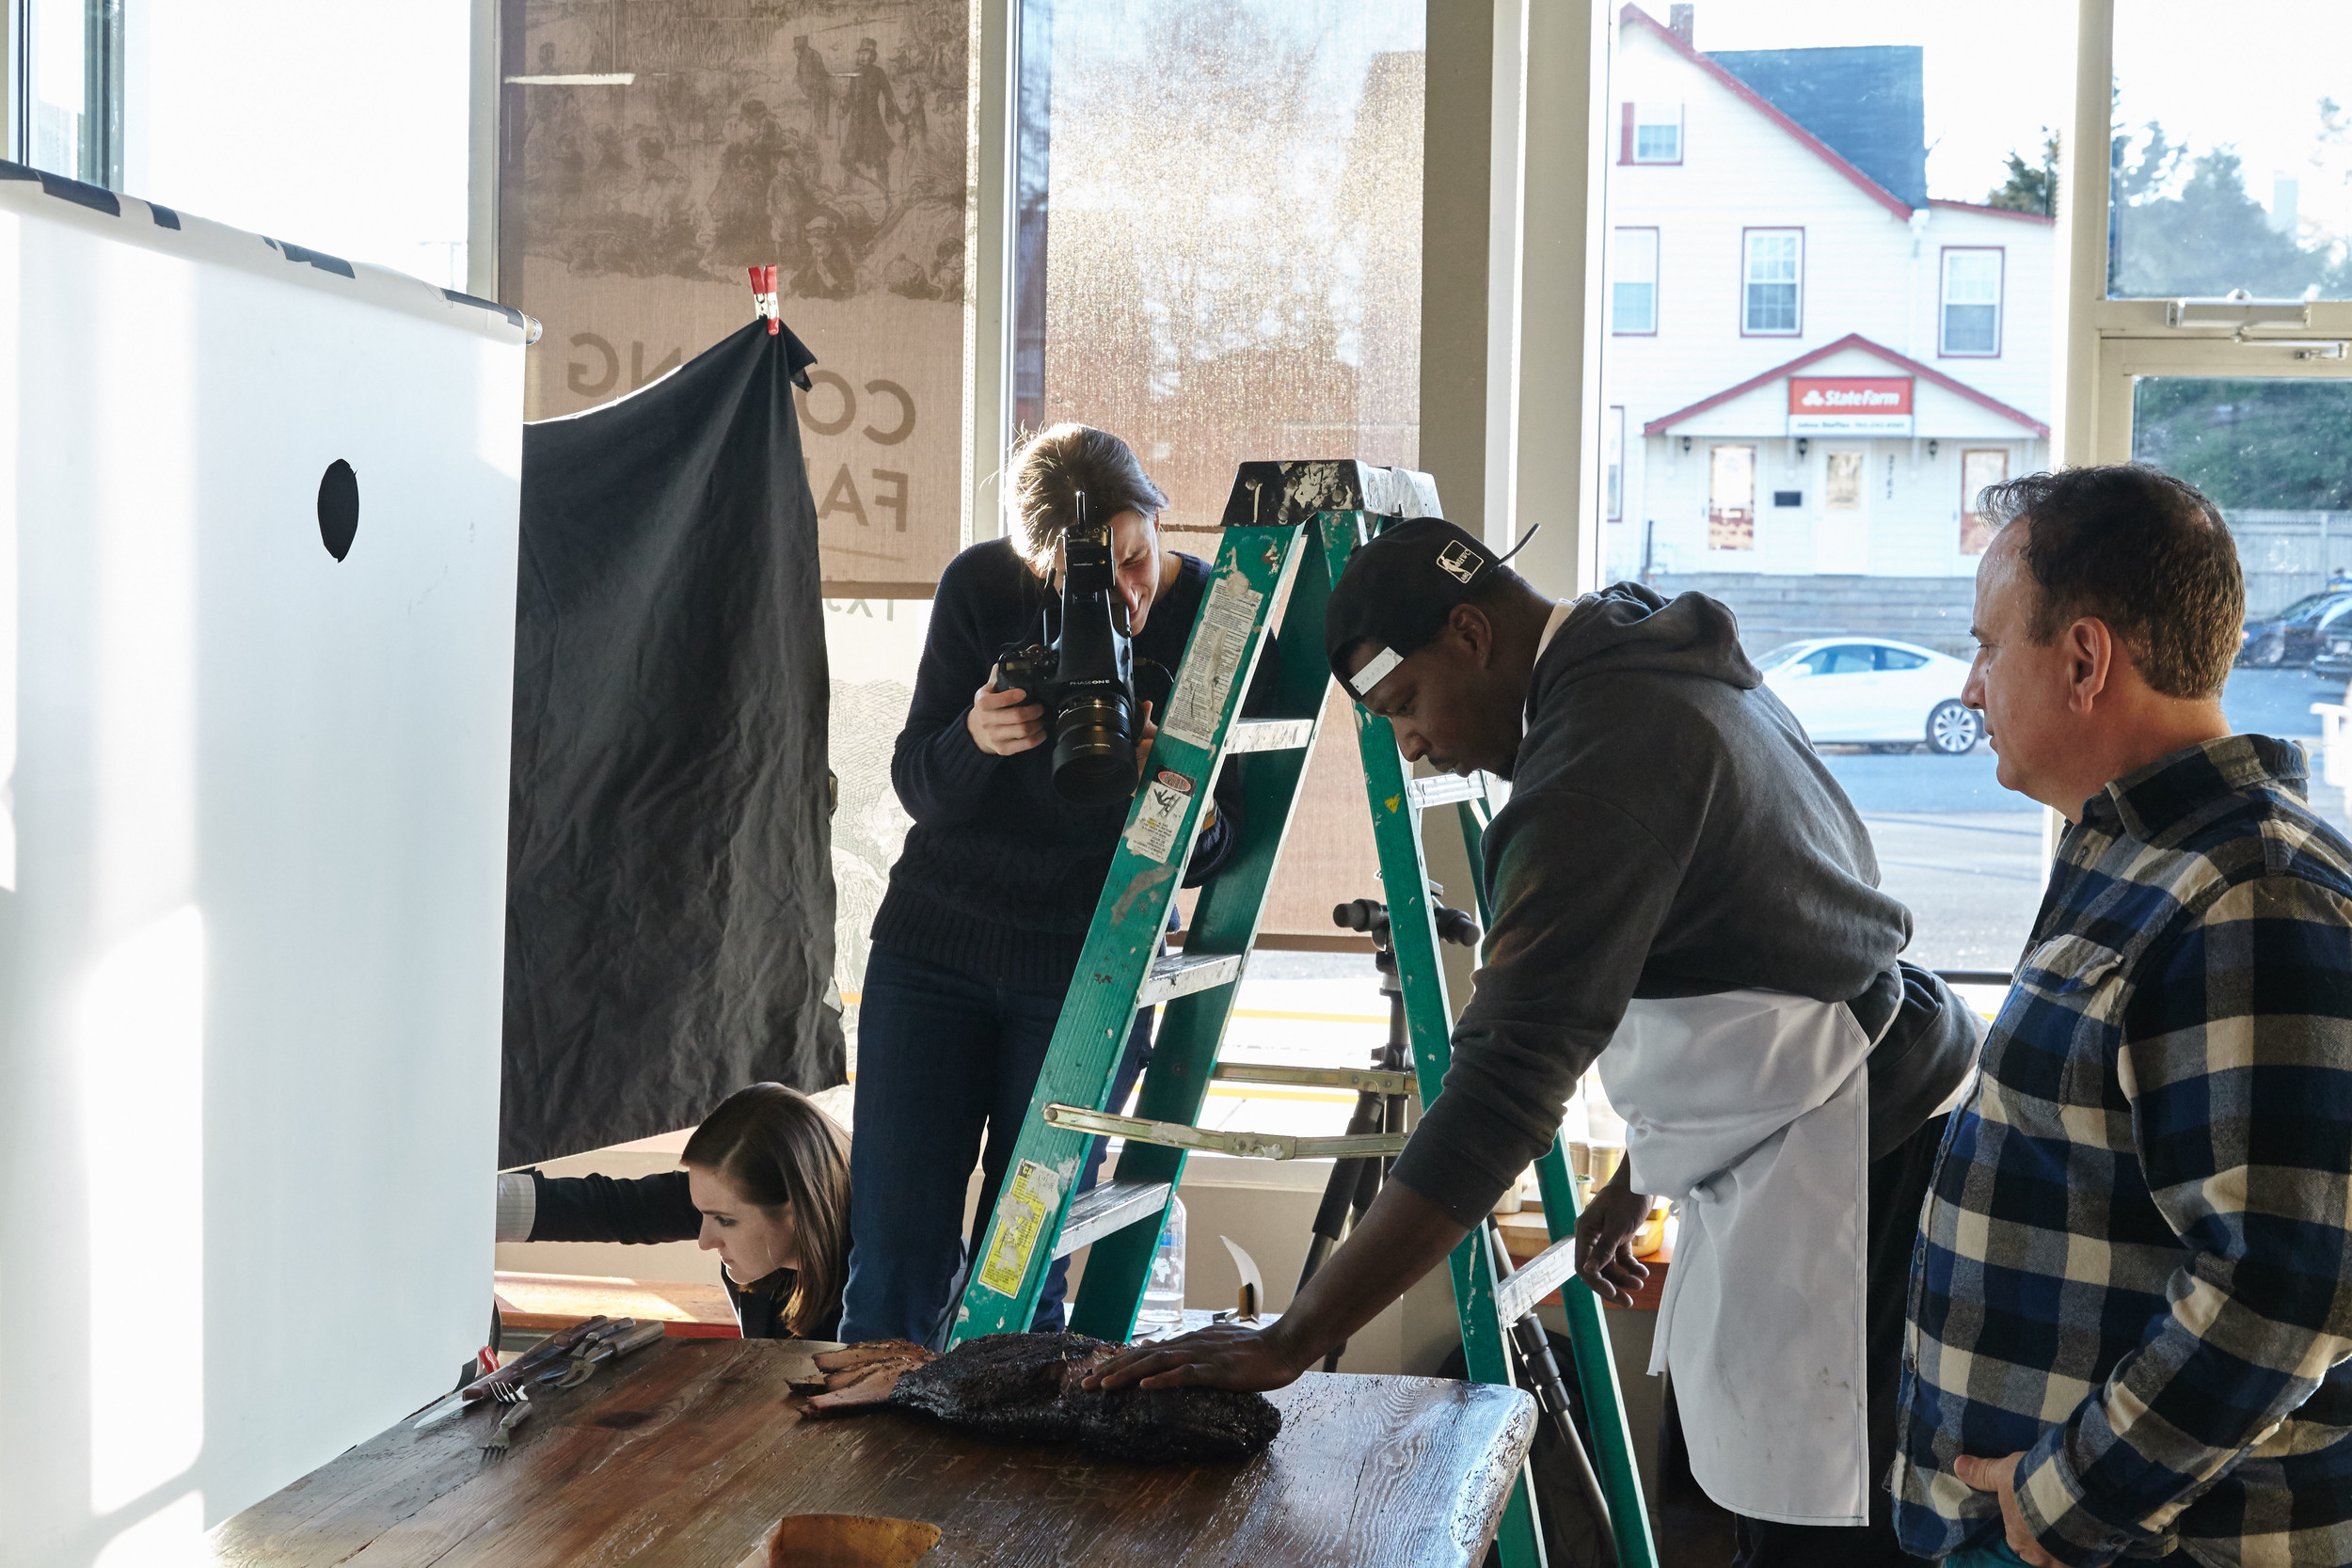
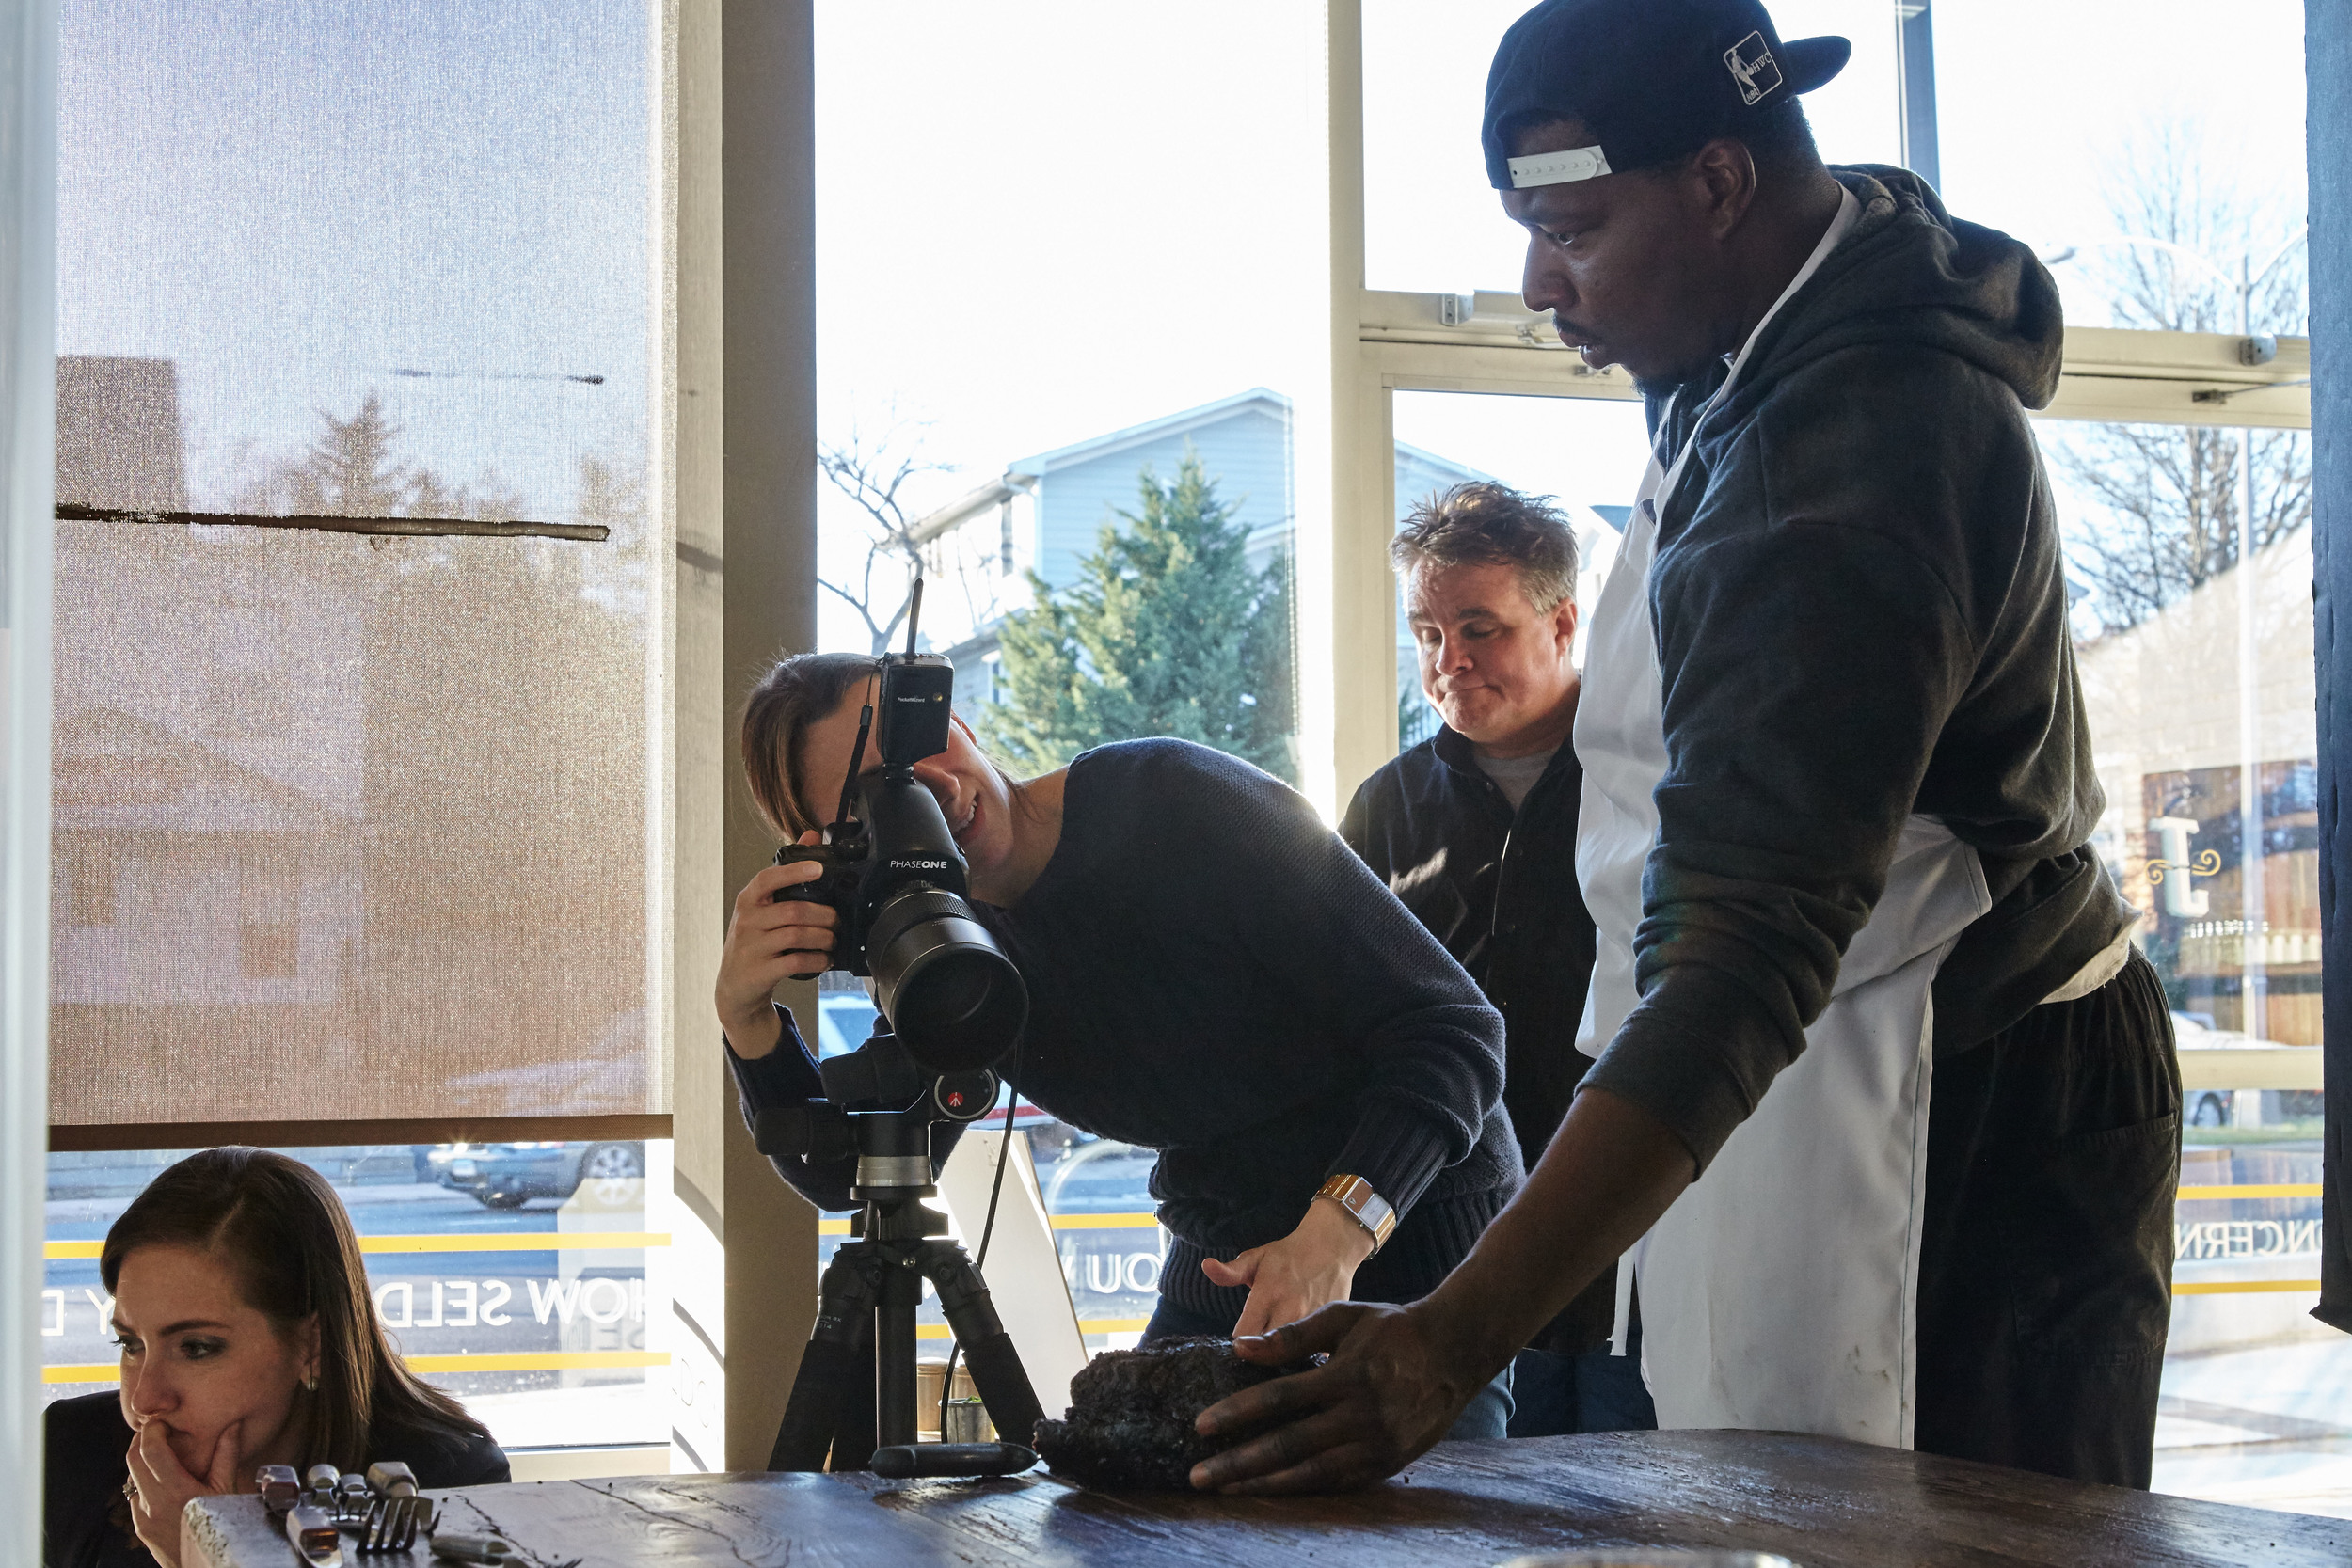
This was a great project we were able to pull together right after the Thanksgiving holiday. The client was working on a tight deadline with the restaurant having a soft opening and then opening for business start of the week! We were able to capture their authentic smoked meat dish offerings and showcase their amazing bar assortment. The restaurant had an amazing interior designed from the ground up with reclaimed wood and decor. The restaurant sat on a busy street just outside Washington D.C. It is housed with the historically preserved “EAT” sign having their own neon sign to match. Their smoke master and Food Network winner Matt Lang had some impressive dishes to share and we were excited to be apart of it.

Texas Jack's BBQ

Amazing Food Stylist: Harry McMann

Wine & Spirits Cover Shoot

This was an amazing opportunity to work with Mike at Wine & Spirits magazine. It was timing and creativeness that we were able to come up with this cover shot!

http://www.wineandspiritsmagazine.com/S=0/subscriptions/entry/december-2015

Screen Shot 2015-11-25 at 4.10.18 PM.png

Holiday Recipe: Hot Chocolate Truffles

Ingredients

12 ounces dark chocolate chips
1 cup heavy cream
1 tablespoon sugar
1/8 teaspoon salt
TOPPINGS: Crushed candy canes or Hershey's cocoa powder

Directions

 Place all ingredients in a double boiler and stir until chocolate is melted. Whisk works well.
    Allow the mixture to cool. Cover the bowl with plastic wrap and refrigerator for about 2-3 hours until firm.
    Using a cookie scoop, scoop the chocolate mixture ( approx. 1 inch scoops) and roll into a ball. Then with your choice of topping roll in that. Immediately place each ball onto a square of plastic wrap.

For Gifting: Wrap up each ball with plastic wrap to seal.  Place balls in a freezer bag and freeze until ready to use.

To Make Hot Chocolate: 1 cup of milk into a microwave-safe mug (or in saucepan to heat). Carefully drop two unwrapped hot chocolate truffles into the milk. Stir for 30 seconds to 1 minute until the truffles dissolve into the milk. Serve warm!

Wine Choice: Merlot


Cow Parade

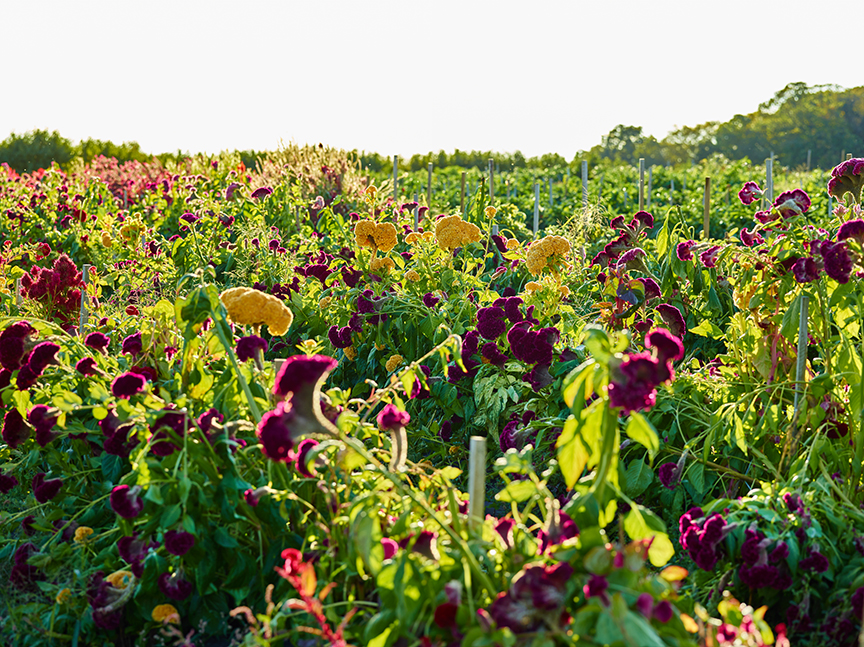
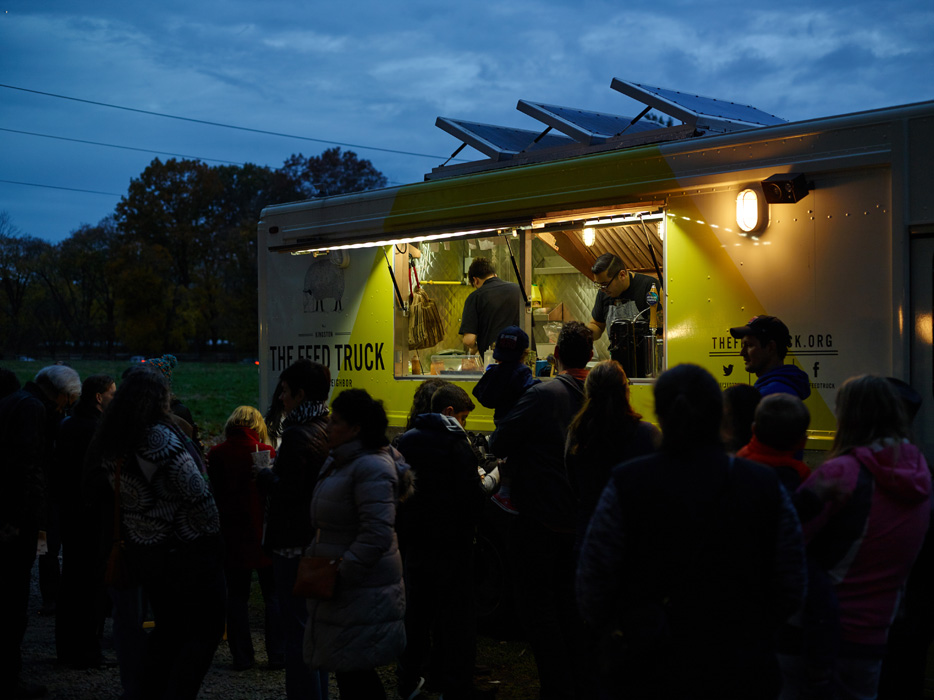
As I mentioned in my last blog post I have been able to expand my personal project to two really amazing farms in the New Jersey and surrounding area. This will be an on going personal project capturing the farm and farmers through the seasons hopefully leading up to a year of work.

Being curious is a big part of creating this new imagery. While at the Cherry Grove Farm one of the workers was talking to me about their upcoming cow parade! “A cow parade?!, what is this?”, I asked with excitement. Well I had to go to see for myself. Below is just a small piece of the day to incorporate into my farming project.


Recipe: Homemade Pasta

In my experience I think homemade pasta does not get the attention it deserves. I feel people are intimated by the thought of making it yourself. It’s really a simple recipe with only a couple ingredients needed!

Making a well with the flour and adding the eggs was a hard thing to accomplish; I know I didn’t get it on the first try. I’ve found if your scared of making a egg mess all over your kitchen put it together in a bowl! In the end you will get the same product. Also you want extra flour on standby to flour your surface when kneading the dough.

There’s a great recipe at Food Network with directions and the amount needed for each ingredient: http://www.foodnetwork.com/recipes/mario-batali/fresh-pasta-recipe.html


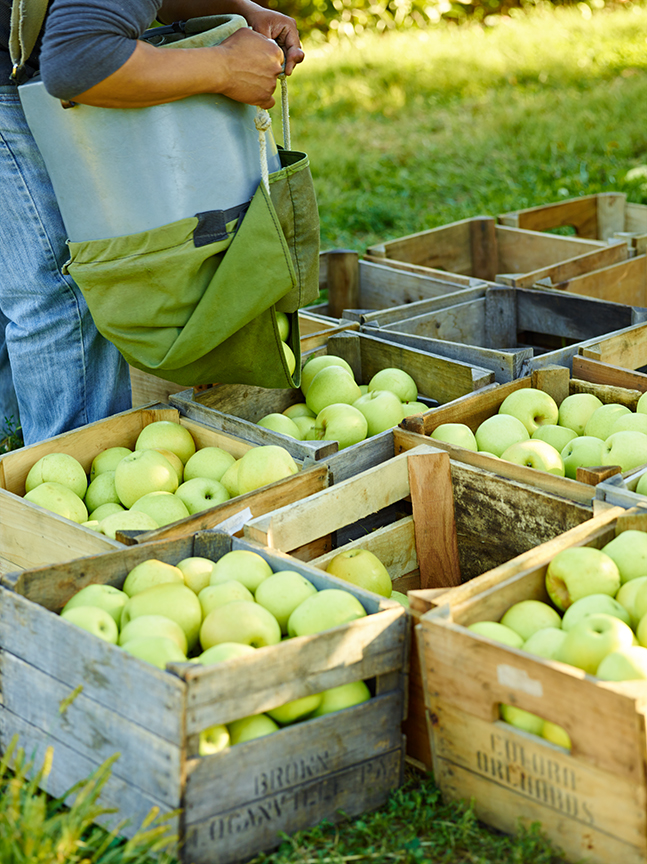
Personal Project: The Orchard

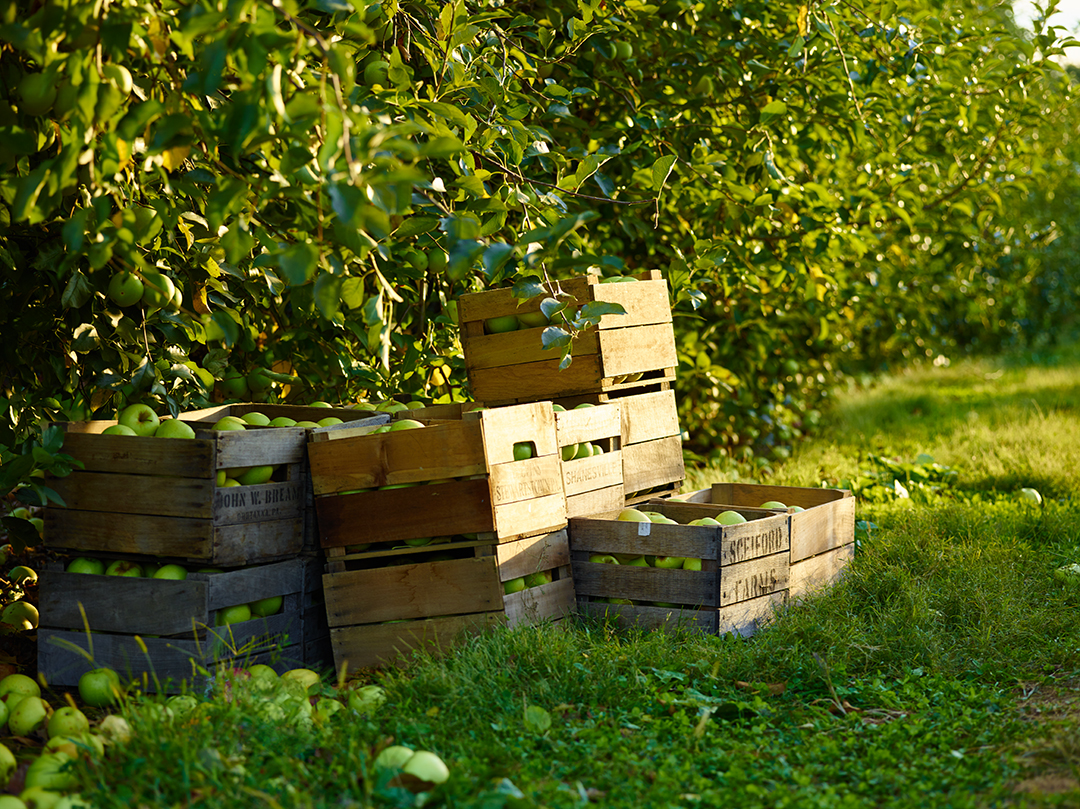
Personal projects are always something I enjoy working on. It requires a vision and time! Some photographers have personal projects that span a year, while others maybe over the course of a week. I can’t say there’s a right or wrong answer here. It has to be what your feeling and how satisfied you are with the images. When I go into personal projects they may last 3-6 months depending on how many final shots I’m looking to create, the time it takes to make them, and the budget I have allotted for travel, food, props, etc.

My last project I worked on was cartoon food which I really had a great time shooting. Some of my other past personal projects and my professional work have left me in the studio. I was looking for another challenge, and all I could think of was doing something outside in the elements. Working on location is something I haven’t done in a very long time; probably since college. I found this really great orchard right outside the city that seems to have a lot of potential for photos. I’ve only been there once and I had this rush of excitement being there shooting something new and different for myself! I’m excited to see where this takes me. Here’s just a couple shots from that day.

Getting Ready For Fall Seasonal Foods!

Summer and Fall are probably my two favorite times of the year. I really enjoy the summer for the weather and the beach! Fall because the leaves change beautiful colors, there’s pumpkin carving, and I think one of my top seasons for fruits and vegetables! Things I look out for in the Fall are apples, brussels sprouts, and figs! These are so versatile and beautiful I love experimenting with them. This year I plan on doing more savory dishes with apples and figs such as incorporating some cheese. For brussels sprouts I always bake them with cubed slab bacon which is great! However I want to change things up and try some slaw or cold salads with maybe a vinaigrette. Another reason I love this time of year is making soup. It’s cold enough where I can get away with eating soup all day.

Here are some links to get your season started:

http://www.cookinglight.com/food/recipe-finder/brussels-sprouts-recipes

http://www.marthastewart.com/275229/fig-recipes/@center/276955/seasonal-produce-recipe-guide

http://www.southernliving.com/food/holidays-occasions/apple-recipes